Setting up Kimsufi KS-LE with Proxmox VE 6 with NAT IPv4 and Native IPv6

So, last time I posted I was talking about HE blocking Cloudflare, so my NAT IPv4 server (without IPv6) is not accessible using cloudflare since it only has IPv6 from HE tunnel. After having headache over NAT64, I gave up. Now, after hunting discount during Black Friday, I got myself Kimsufi KS-LE (Legendary Edi- sorry, Limited Edition), which is subsidiary of OVH. I will explain how I setup the server for virtualization, so the VM inside can have NAT IPv4 and native IPv6.
Fun fact : IPv6 given from Kimsufi is actually /64 routed to your server!
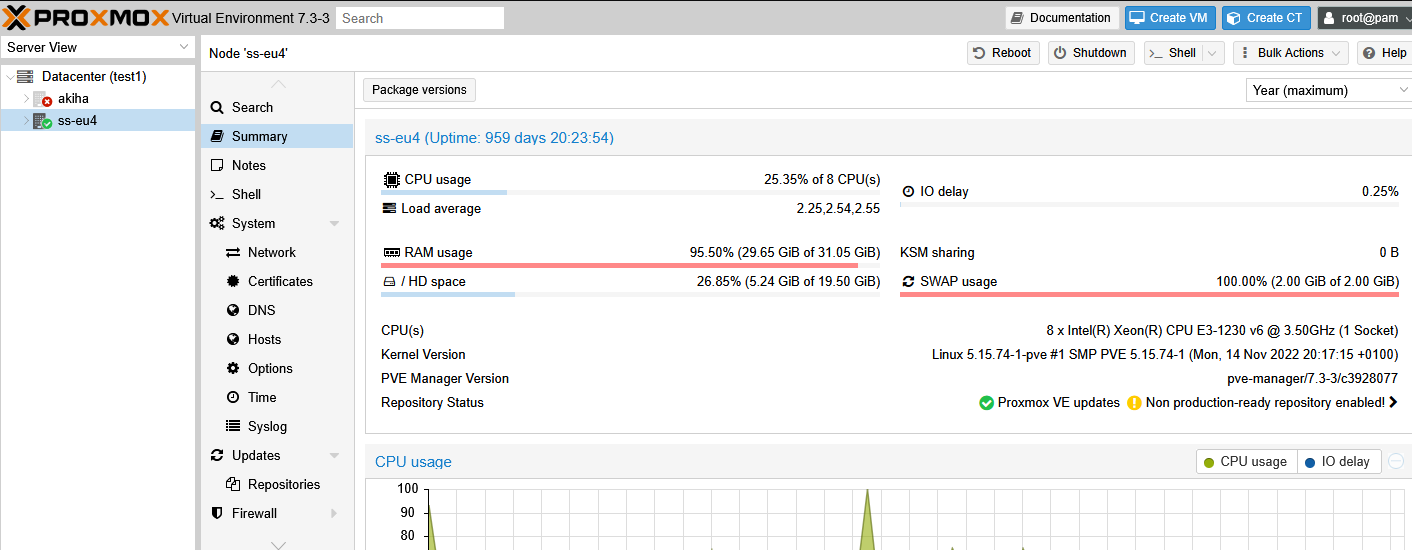
I spin up the server and reinstalled it with Proxmox 6 VE available from Kimsufi. I setup the partition using **SINGLE DISK** (yes, I know this is risky but this won’t have any critical data so it will be fine). The disk size is 2x2TB, so I give root partition 50GB to work with and 16GB of swap. I use “akiha” as my hostname and proceed with the installation then waiting for the email for login info.
Host Configuration
The first thing I did is accessing the web gui on port 8006. I logged in checked if everything is okay. After that, I login through SSH to setup DHCP server for my NAT VM (yes, Kimsufi doesn’t give you option to add additional IP, it’s SYS/OVH exclusive). Proxmox will have vmbr0 already configure, so I edited /etc/network/interfaces to fit my needs, which I add another bridge vmbr1 for my VM to connect to :
auto lo
iface lo inet loopback
iface eno1 inet manual
iface eno2 inet manual
# main bridge
auto vmbr0
iface vmbr0 inet dhcp
bridge-ports eno1
bridge-stp off
bridge-fd 0
iface vmbr0 inet6 static
address 2001:****::1/64
gateway 2001:****:**ff:ff:ff:ff:ff
# VM bridge
auto vmbr1
iface vmbr1 inet static
address 192.168.50.1/24
bridge-ports none
bridge-stp off
bridge-fd 0
post-up echo 1 > /proc/sys/net/ipv4/ip_forward
post-up iptables -t nat -A POSTROUTING -s ‘192.168.50.0/24’ -o vmbr0 -j MASQUERADE
post-down iptables -t nat -D POSTROUTING -s ‘192.168.50.0/24’ -o vmbr0 -j MASQUERADE
iface vmbr1 inet6 static
address 2001:****::2/64
From the settings, I created a new bridge called vmbr1 I’ll be handing out 192.168.50.0/24 on vmbr1 to my VM for NAT purpose, and I give 1 IPv6 to vmbr1 for gateway (on vmbr1 inet6 section). It also will have NAT for the IPv4 (on vmbr1 inet section). I also added vmbr0 inet6 to attach the main IPv6 given from Kimsufi.
Next step to do is to add IPv6 route so we will have IPv6 internet access.
ip -6 r a 2001:****:****:**ff:ff:ff:ff:ff dev vmbr0
ip -6 r a default via 2001:****:****:**ff:ff:ff:ff:ff
Now are you wondering where I get this gateway from? It’s simple. Get your IPv6 from Kimsufi, remove everything from the end of your IPv6 and add 5 sets of FF. For examples, if your IP is 2001:41d0:1:4462::1, you will change it to 2001:41d0:1:44FF:FF:FF:FF:FF.
After this setup done, I will have both IPv4 and v6 enabled on the host and now I can start giving out IPv4 and IPv6 to my VM. Next step is to configure DHCP server for my VM IPv4. I will be using DNSMasq as the server to hand it out.
sudo apt install dnsmasq dnsutils -y
Now we need to edit dnsmasq.conf, edit the variable :
domain=example.com
# interface to listen to
interface=vmbr1
# IP range to handout
dhcp-range=192.168.50.10,192.168.50.100,30d
# set gateway
dhcp-option=vmbr1,3,192.168.50.1
# DNS server
server=1.1.1.1
server=8.8.8.8
# DHCP database location (to save to)
dhcp-leasefile=/var/lib/misc/dnsmasq.leases
After the setup is done, ensure everything works by typing :
dnsmasq --testOnce you’re done and tested successfully, restart and enable dnsmasq
sudo systemctl restart dnsmasq
sudo systemctl enable dnsmasq
Now that finalized the setup of DHCP server we configure for our VM IPv4.
The next step is to route the IPv6 that will be assigned to your VM. Since our ::1 and ::2 already used by vmbr0 and vmbr1, I will be added ::3 to our VM. First we need to add it to our Proxmox IPv6 route and neighbour.
ip -f inet6 neigh add proxy 2001:****:****::2 dev vmbr1
ip -f inet6 neigh add proxy 2001:****:****::3 dev vmbr0
ip -f inet6 neigh add proxy 2001:****:****::4 dev vmbr0
ip -f inet6 route add 2001:****:****::2 dev vmbr1
ip -f inet6 route add 2001:****:****::3 dev vmbr1
ip -f inet6 route add 2001:****:****::4 dev vmbr1
Now when the ::3 and ::4 IPv6 will be routed to vmbr0 and vice versa.
Client Config
Since we already have IPv4 DHCP server on vmbr1, we just need to create a new VM and attach that to vmbr1 (this is very important). On your client VM, just add this example to the interfaces (done in Ubuntu Server 20.04) :
network:
ethernets:
ens18:
addresses:
— 2001:****:****::3/64
dhcp4: true
gateway6: 2001:****:****::2
nameservers:
addresses: []
search: []
version: 2
Then run netplan apply so it will have both IPv4 and IPv6 available.
Now everytime you want to spin up server with dual stack, you just need to add the IPv6 manually.
That’s all from me.